
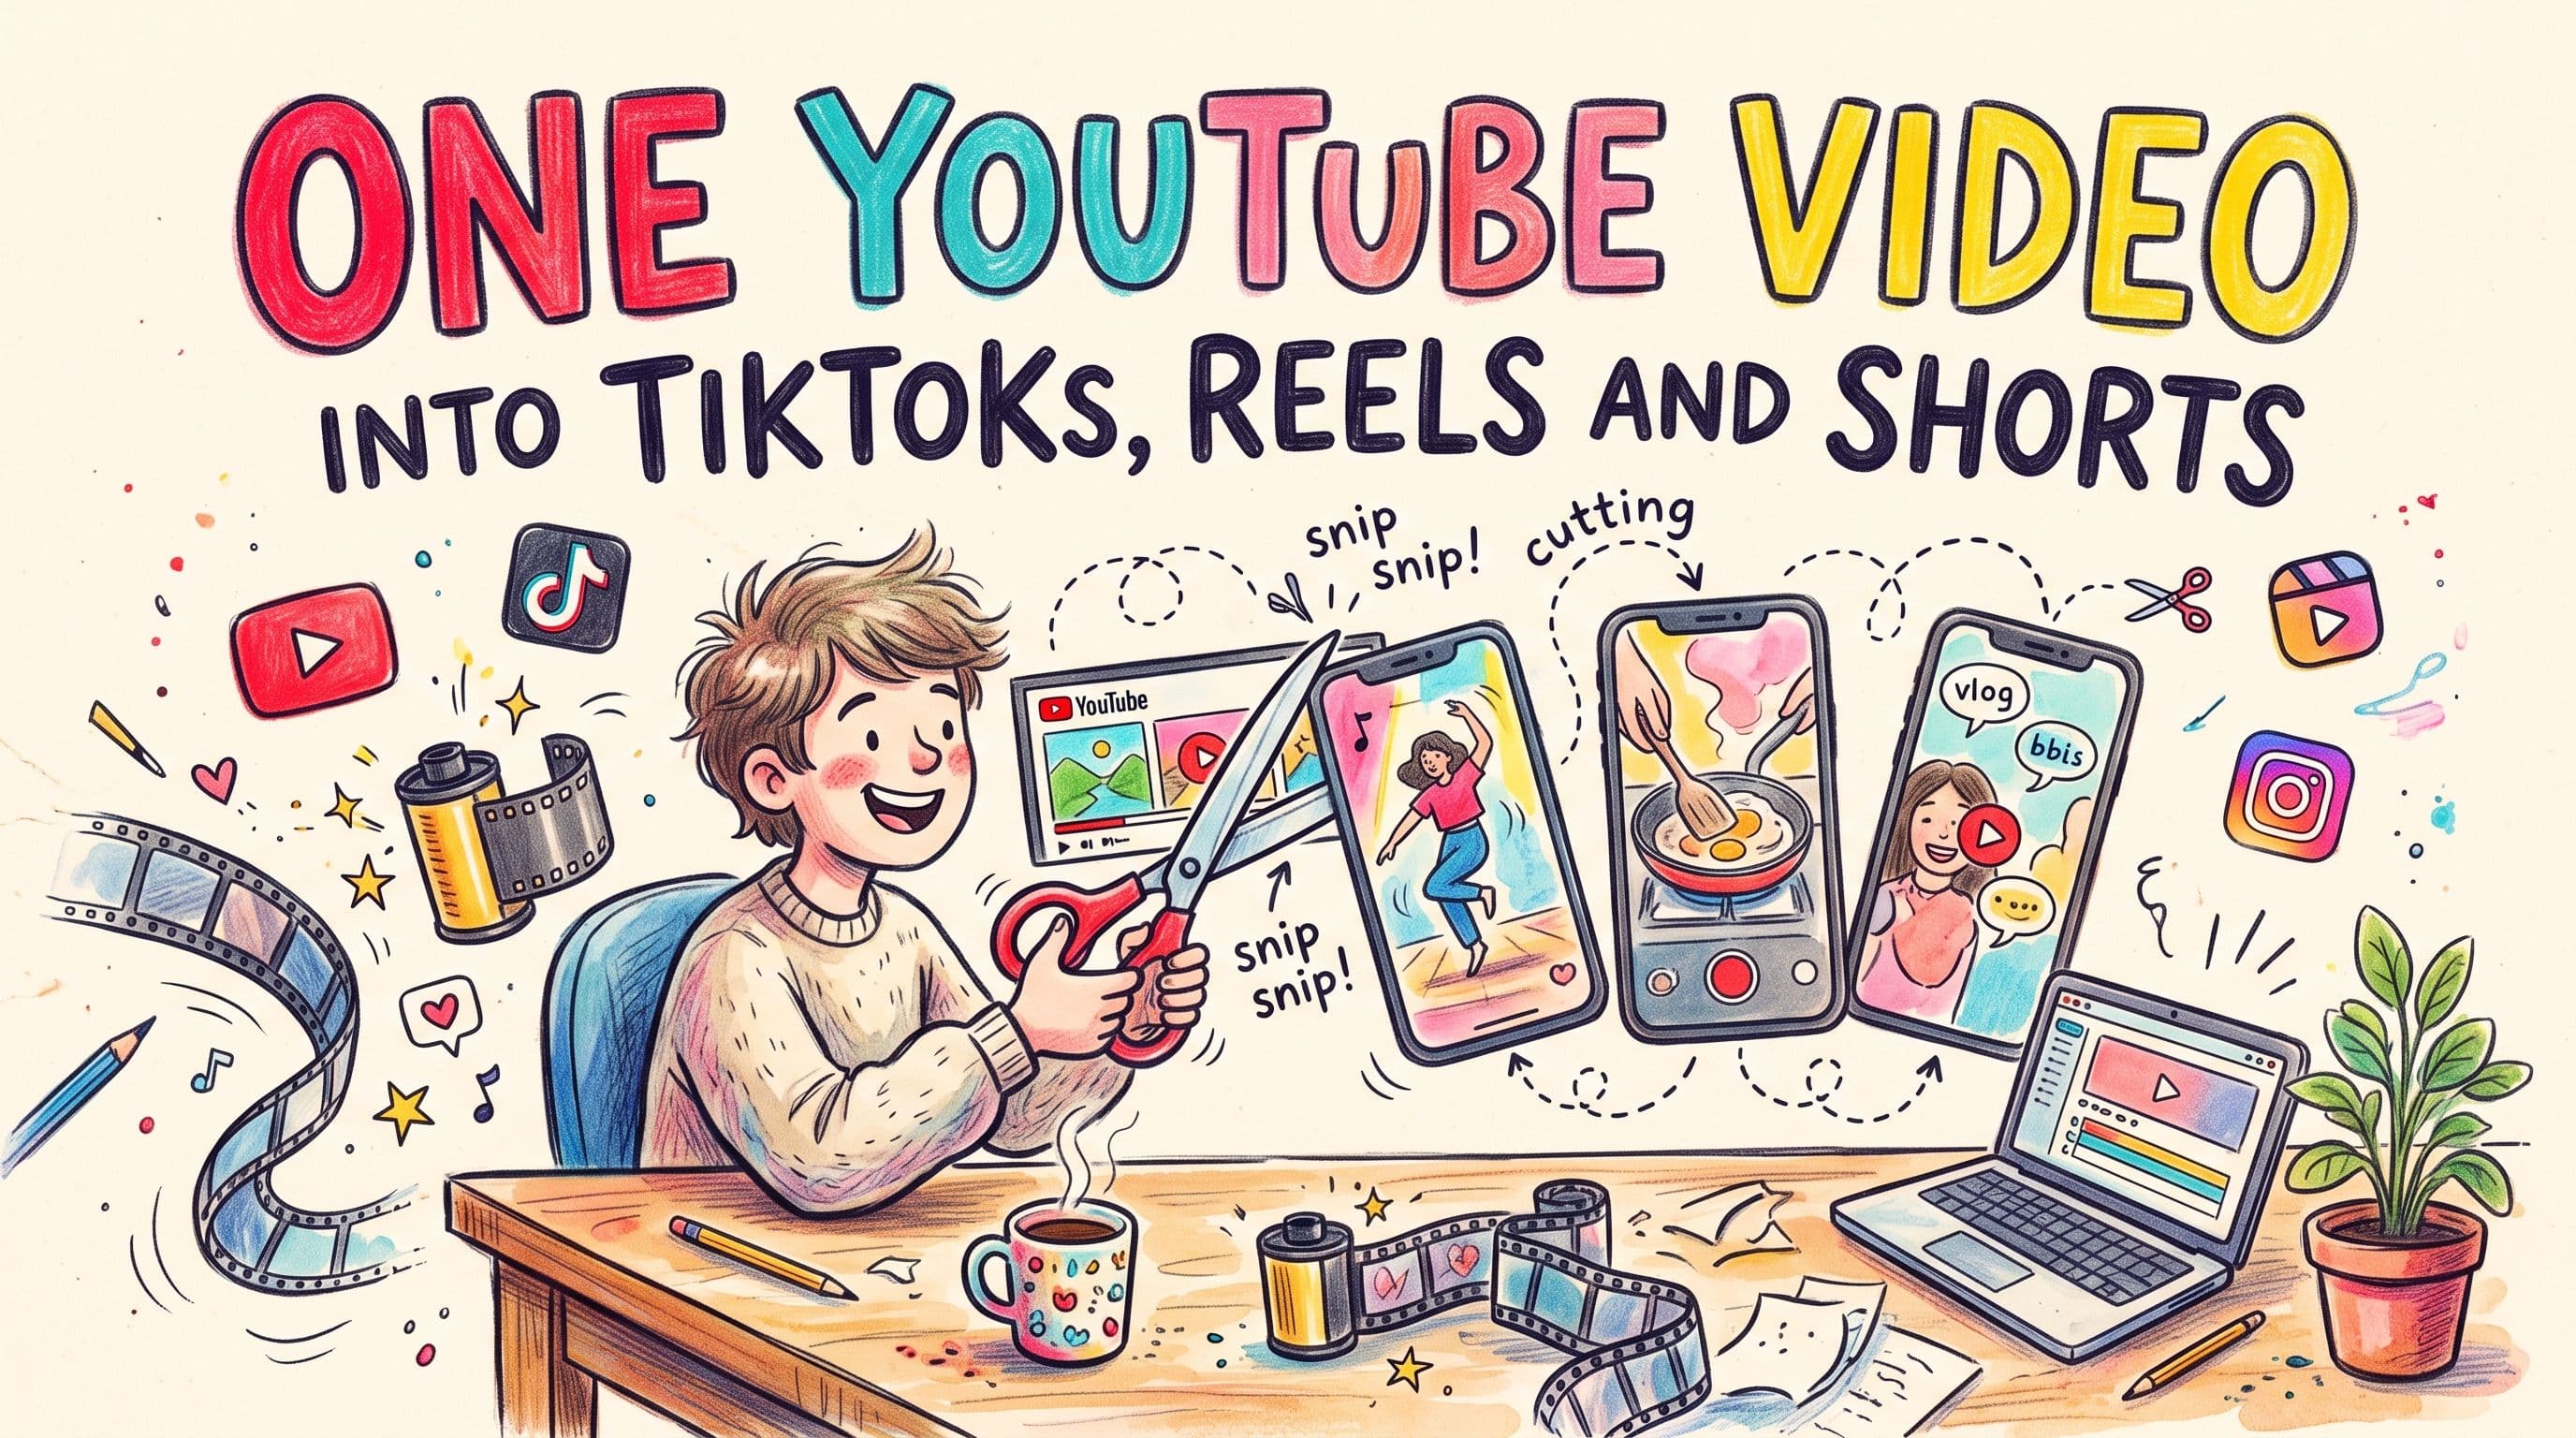
The short version
- Only do this with videos you own. Download your original from YouTube Studio, not a ripped copy.
- Pick 3 to 8 moments that make sense on their own, then open each clip on its strongest line.
- Reframe to 9:16 vertical, add burned-in captions, and keep text away from the edges where app buttons sit.
- Keep clips under 60 seconds if you want one file that behaves well on all three platforms.
- Export one clean file per clip (no other app's watermark) and publish it to TikTok, Reels and Shorts in one go.
First: only repurpose your own videos
This whole workflow assumes the YouTube video is yours, or you have written permission from whoever owns it. Clipping someone else's video and posting it as your own is a copyright problem, and TikTok's own originality policy treats reposted content with little added as unoriginal, which keeps it out of the For You feed.
If it's your video, get the clean original. In YouTube Studio, go to Content, hover the video, open the three-dot menu and choose Download. That gives you the file as YouTube has it, without screen-recording artifacts. If you still have the export from your editor, that's even better.
Create once, post everywhere
post bridge publishes and schedules your posts to Instagram, TikTok, YouTube, X, LinkedIn, Facebook, Pinterest, Threads, Bluesky and Google Business Profile from one dashboard.
Try it free for 7 daysStep 1: Pick moments that stand on their own
Watch the video once and mark every moment that would make sense to a stranger with zero context. Good candidates:
- A strong opinion or a claim people will argue with
- A specific number or result
- A short story with a payoff
- A common mistake and the fix
- A quick how-to that fits in under a minute
A 10 to 20 minute video usually gives you somewhere between 3 and 8 usable clips. Three good clips beat eight average ones.
The test for each clip: if someone sees only these 30 seconds, do they get it? A clip that starts with "...and that's why the second option is wrong" fails. Trim back until the thought starts cleanly.
For the actual cutting (tools, timestamps, exporting a section), see how to clip a YouTube video. This post picks up from there.
Step 2: Put the hook first
Long-form YouTube videos build up to their best points. Short-form feeds don't give you that time. Restructure each clip:
- Open on the strongest sentence, even if it came later in the original.
- Add one line of context so the viewer knows what they're watching.
- Deliver the payoff, then end. Don't trail off into the next topic.
Example: your video spends two minutes building to "most people price their first product too low." Start the clip on that line. Then cut to the reasoning. You're not changing what you said, you're just not making people wait for it.
Also cut the YouTube-specific bits: "like and subscribe", "as I said earlier", "link in the description". They make no sense in a TikTok feed.
Step 3: Reframe to 9:16
Most YouTube videos are 16:9 horizontal. TikTok, Reels and Shorts are built for 9:16 vertical (1080 x 1920 is the usual export size). How you reframe depends on the shot:
- One person talking to camera: crop the sides and keep the face centered, a bit above the middle of the frame. Most editors have an auto-reframe feature that tracks the face for you.
- Two people (podcast, interview): a straight vertical crop loses one person. Either cut between speakers as they talk, stack both speakers top and bottom, or use a square 1:1 crop. YouTube counts square videos as Shorts, per its Shorts help page.
- Screen recordings and slides: these crop badly. Put the screen in the middle of the vertical frame with a headline above and captions below, or zoom into the part that matters.
Step 4: Add captions, and keep them out of the way
A lot of people scroll with the sound off, so burn captions into the video for anything that depends on what's being said.
A few practical rules:
- Short lines. Two to five words at a time reads better on a phone than full sentences.
- Big and high-contrast. White text with a dark outline or background box works on almost any footage.
- Not at the very bottom or right edge. All three apps lay their own caption, username and buttons over the bottom and right side of the video. Put your captions around the middle or lower-middle of the frame instead.
- Check it in the app. Upload one test clip privately (or save as a draft) and look at it with the app's interface on top before you export the rest of the batch.
Step 5: Know the length limits
Here's what each platform says right now. These change, so check the upload screen if something looks off.
| TikTok | Instagram Reels | YouTube Shorts | |
|---|---|---|---|
| Shape | Vertical 9:16 | Vertical 9:16 | Vertical or square |
| Max length | Long uploads allowed (check your upload screen, limits have changed several times) | Up to 20 minutes | Up to 3 minutes |
| The line that matters | Creator Rewards only pays on videos over 1 minute | Reels over 3 minutes aren't recommended to new audiences | Over 1 minute with an active copyright claim gets blocked |
Sources: Instagram's Record a reel help page, YouTube's Shorts help page, and TikTok's Creator Rewards announcement (which also requires 10K followers and 100K views in the last 30 days).
What this means in practice:
- Under 60 seconds is the safe zone. One file works everywhere, recommends normally on all three, and dodges the Shorts copyright-claim rule.
- 60 seconds to 3 minutes still works on all three platforms. On Shorts, make sure there's nothing in it that could get a copyright claim (background music is the usual culprit). On TikTok, clips over a minute are the only ones that count toward Creator Rewards, if you're in that program.
- Over 3 minutes is no longer a short. It won't be a Short on YouTube and Instagram won't push it to new people. Cut it down or split it in two.
If you're not sure which platform to focus on first, TikTok vs YouTube Shorts for beginners breaks down how each one grows an account.
Step 6: Export clean files
Export each clip straight from your editor as its own file. Don't post to TikTok, save the video from the app, and upload that to Instagram. The saved file carries a TikTok watermark, and Instagram has said it avoids recommending watermarked reels. TikTok does the same in reverse: its originality policy lists content with another platform's watermark or logo as unoriginal.
Your own handle or logo in the corner is fine. Another app's logo is the problem.
Step 7: Write a caption per platform
The video can be identical everywhere. The text around it shouldn't always be.
- TikTok: a short hook line plus a few topical hashtags.
- Instagram: same idea, and Instagram captions can run longer if you want to add context or a takeaway.
- YouTube Shorts: the title is what shows in search and on the Shorts shelf, so make it say what the clip is about. You don't need #Shorts for YouTube to treat it as a Short: it goes by length and aspect ratio.
Don't paste your long-form YouTube title onto every clip. It was written for a different job.
Step 8: Publish to all three at once
At this point you have a stack of clean vertical clips and captions. Posting them by hand means three apps, three uploads and three caption boxes per clip. For eight clips, that's 24 uploads.
This is the part post bridge handles. You upload a clip once, pick your TikTok, Instagram and YouTube accounts, and publish now or schedule it for later. A few things that help with this specific workflow:
- Per-platform caption overrides, so TikTok gets its hashtag line and YouTube gets a proper title from the same post.
- YouTube titles, tags and custom thumbnails set right in the post.
- TikTok drafts, if you want to add a trending sound or tweak the post in the TikTok app before it goes live.
- A content calendar and bulk scheduling, so you can spread a batch of clips over a couple of weeks instead of dumping them all on day one.
It's built for one person running their own marketing, not a social team. Plans start at $39/month for 15 connected accounts, with unlimited posts and a 7-day free trial (there's no free plan). Details are on the pricing page.
If you only post a few clips a month, uploading natively in each app is fine too. You just do it three times.
Spacing the clips out
Don't post every clip from one video on the same day. Spread them out (one or two a day per platform is plenty for most solo accounts) and mix in other content if you have it. That way each clip gets a fair shot, and your feed doesn't look like one video chopped into pieces.
What to do this week
Pick one YouTube video of yours that did well. Pull three clips from it, put the hook first, reframe to 9:16, caption them, and keep each under a minute. Then post all three to TikTok, Reels and Shorts over the next few days and see which platform picks them up. That tells you where the next batch should go.